
Last verified 2026-09-23 by ReviewGamers Editorial
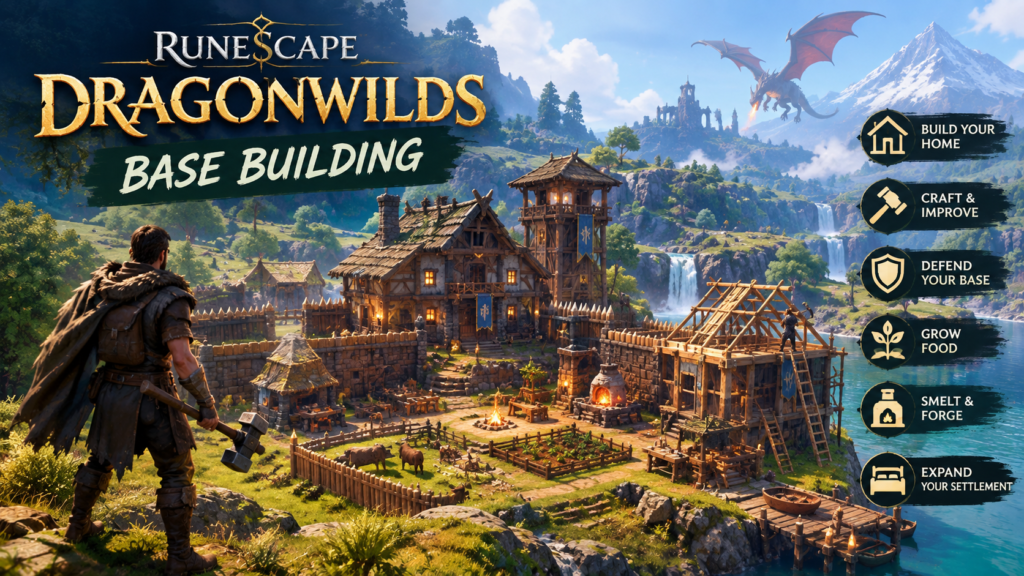
Base building in RuneScape: Dragonwilds runs through the Construction skill, and per the game’s own official wiki, it covers more than just decoration — shelter to rest in, crafting stations to produce and process materials, and the structural pieces that hold it all together. See our skill progression guide for how Construction fits into your broader early-game priorities.
Getting into the building menu
The default binding to open the building menu is the “B” key, which brings up the list of available Structures you can place. This is your entry point for everything covered below — shelters, crafting stations, storage, and structural pieces like floors and foundations.
The core crafting stations, and what each one does
Per the official wiki, the core stations include the Campfire, Blacksmith’s Bench, Fletching Bench, Mystic Forge, and Armour Bench, alongside Ore and Lumber Storage unlocked at higher gathering skill levels. Per Mobalytics’ dedicated building guide, the full crafting system actually runs through eleven crafting stations and thirteen processing stations in total, fed by your Mining, Woodcutting, Farming, and Fishing skill activities — meaning your gathering skills and your Construction-built stations are two halves of the same production pipeline, not separate systems.
The core production chain
Mobalytics’ guide lays out the basic loop plainly: mine ore, smelt bars at a Furnace, then craft weapons and armour at the Blacksmith’s Bench and Armour Bench. The Mystic Forge handles a further step — Masterwork ascensions — meaning it’s specifically for upgrading already-crafted gear to a higher tier, not a starting-point crafting station for a brand-new player.
The placement rule most new base-builders miss
This is the single most actionable, non-obvious detail in this whole system: per Mobalytics’ guide, when planning your base layout, the forge and anvil should be placed within two tiles of each other, because their input and output windows do not share a queue. In plain terms, if you place these two stations too far apart, you lose efficiency moving materials between them manually rather than having them function as a connected production step — this is a real mechanical cost tied to distance, not just a convenience preference. A base built without this specific placement in mind will feel noticeably slower to use for anyone doing serious smithing, even if every other part of the layout looks reasonable.
General base layout principles
Beyond the specific forge-and-anvil rule, Mobalytics’ broader base-layout guidance follows a few consistent principles worth adopting from the start:
- Keep the base compact and readable — a layout that’s quick to navigate and quick to return to after a gathering loop saves real time across a long play session, compounding far more than it might seem on a single visit.
- Place storage next to crafting stations so dumping gathered resources into storage and then immediately crafting with them doesn’t require backtracking across your base.
- Keep cooking and healing supplies close to your exit point, so restocking before heading back out into the world is a quick stop rather than a detour through your whole base.
- Leave room for smelting, upgrade stations, and future resource processing — planning your initial layout with expansion space in mind avoids a disruptive full rebuild later once you unlock higher-tier stations.
Practical base-building checklist
- Place your forge and anvil within two tiles of each other from the start — this is a real efficiency rule, not a suggestion, since their queues don’t share information across a longer distance.
- Treat the Mystic Forge as an upgrade station, not a starting crafting bench — it’s specifically for Masterwork ascensions on gear you’ve already made elsewhere.
- Position storage directly adjacent to your crafting stations to minimise backtracking during a crafting session.
- Leave expansion room in your initial layout for smelting and upgrade stations you haven’t unlocked yet, rather than needing to relocate later.
For skill priorities and early progression, see our skill progression guide, and check our PC and Steam platform notes.